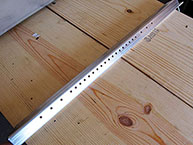
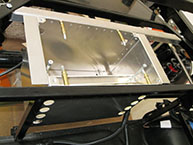
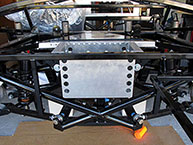
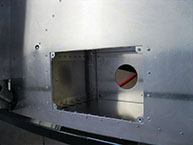
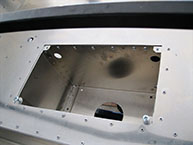
Mk4 Battery Box Instructions 1. The battery box has been shipped to you with only a few rivet installed. We do this in case you want to powdercoat or treat the aluminum prior to installing. Prior to installing the box in the car, finish installing all the 1/8" rivets with the supplied rivets. 2. Use the predrilled holes in the support brace to mount it to the front of the battery box and fit the assembly in place as shown. Use the centered set of holes in the brace for IRS and four link and the drivers side set of holes for three link. WARNING! Do not install the battery box in front of the 3/4" brace that holds the gas tank, even if the battery box touches the three link cross brace. The gas tank brace needs to be able to swing forward in a rear end collision.
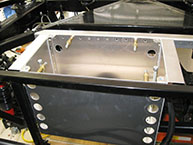
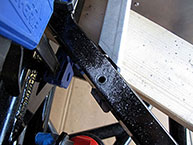
3. Level the side flanges on the battery box with the top of the 3/4 inch square tube at the rear of the battery box. Drill and rivet the box to the 3/4 inch square tube. Using the predrilled holes in the ends of the front support brace as a guide, drill a ¼ inch holes in each of the 1 inch square tubes and attach with the hardware provided. Rivet the box to the support brace.
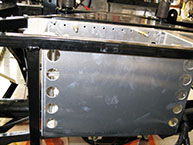
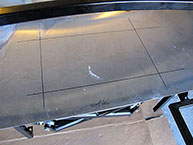
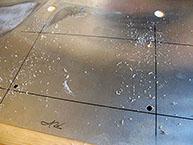
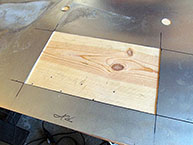
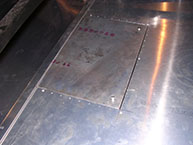
4. Temporarily install the upper trunk floor, then reach through the hole in the bottom of the battery box and trace around the top of the box to mark the opening you will be cutting. Tap lightly in the area of the screws holding the front brace to mark their location. Remove the trunk floor from the car and cut the hole you marked and drill ½ inch holes at the support brace location to allow the floor to lay flush on the 1 inch square braces. NOTE: A good way to end up with a nice neat hole is to start with a rough hole in the center of where you want to end up then sneak up on your line with several cuts around the hole making your final cut only remove about a ¼ inch of material. Then clean up the cut with a file. It is also a good idea to do another test fit before you make your final cuts.
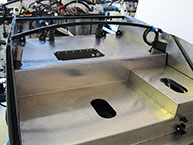
5. Install the trunk floor and rivet in place.
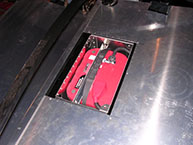
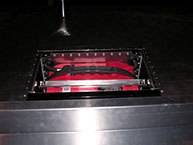
6. Install the battery and the top. The battery you want is an Optima RedTop type 34 (not the type 34/78):
FFMetal.com |
|||||||||||||||
|